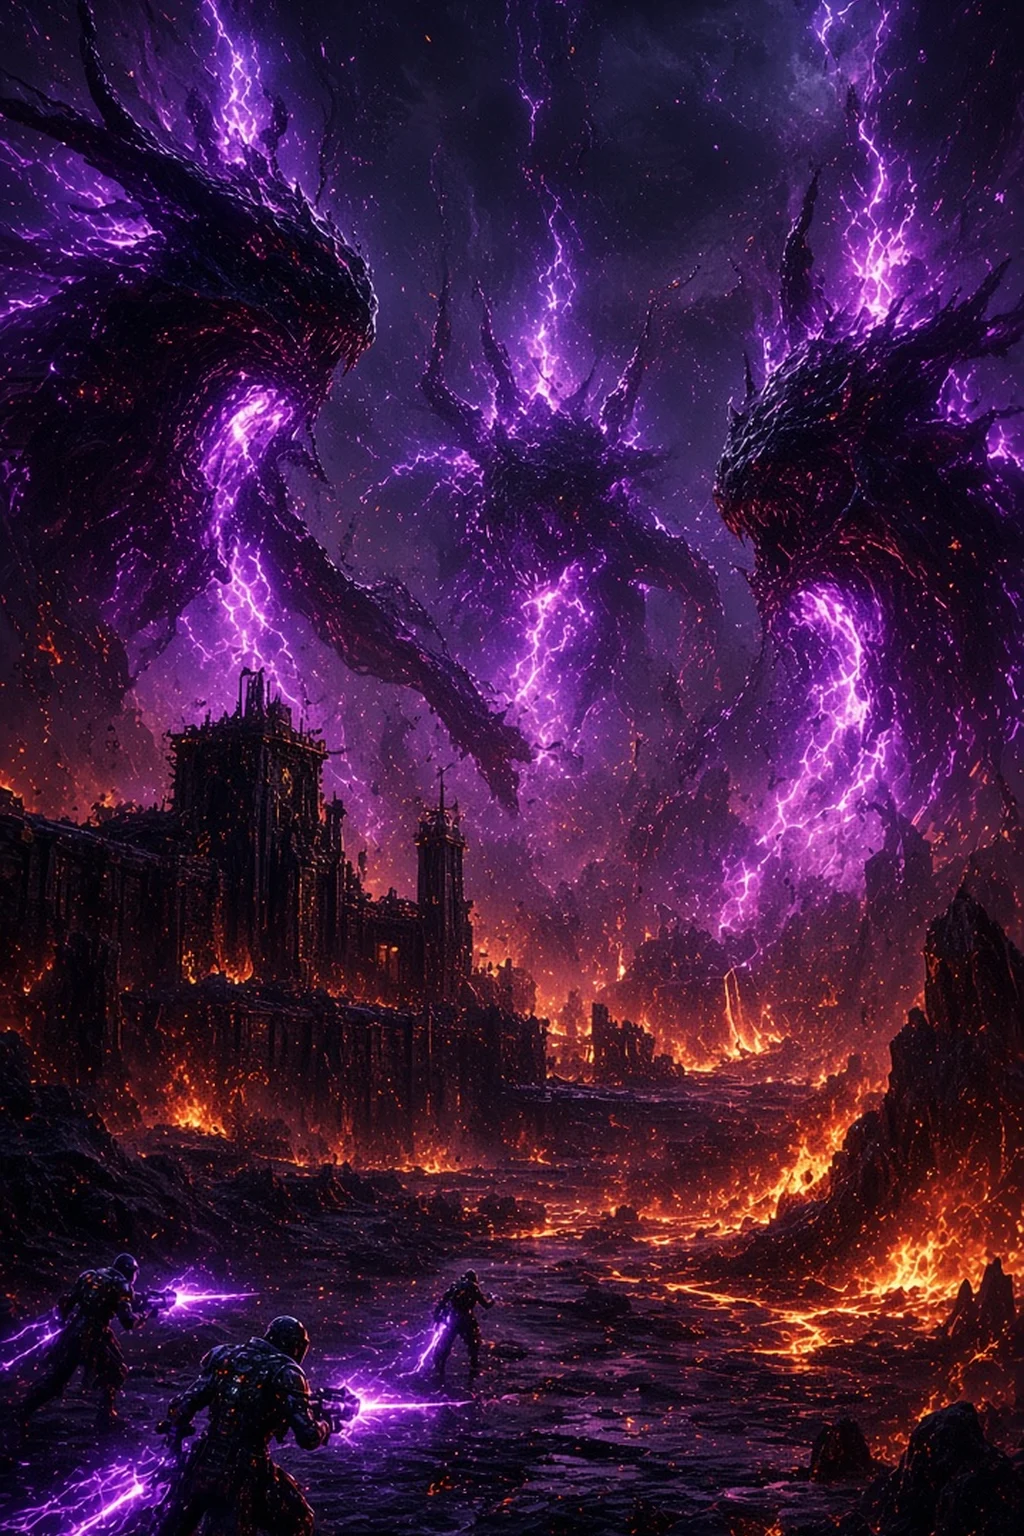
Void Thrashing is the StarCraft II Co-op mission that puts the clock on a fortress instead of on you. Void thrashers are surfacing on Char. You have two primary objectives: destroy ten Void Thrashers, and keep Sgt. Hammer's fortress standing. If the fortress dies, the mission dies with it. The bonus is a single target, the Archangel.
Your bases sit in the southwest. Hammer's fortress is tucked into the corner behind them, which is why a thrasher you ignore is not a thrasher you postponed. It is a thrasher still shooting the thing you are not allowed to lose. The two expansions are far apart, and the approaches outside the main ramp are camped. Clearing those camps early is what lets an army cross the map without donating workers on the way.
The thrashers arrive in four sets. On Brutal they surface at 4:30, 9:20, 13:40, and 18:00 even if you have done nothing. They can also surface early: drop the combined health and shields of the units and buildings around a spawn to about half, and that set comes up ahead of the timer. The first set is mid-map and lightly guarded. The second is to the top-left, behind a camp. The third is to the bottom-right, behind another camp. The last set sits inside a fortified base. The next timer does not wait for you to finish the previous set. Leave thrashers alive and the fortress starts eating fire from more than one direction.
A thrasher's default job is the fortress. It keeps bombarding Hammer until a unit close enough actually damages it. Then it turns, and the answer is a wide lightning slam, not a polite retarget. Standing nearby is not enough. A siege unit that hits from outside that slam's reach can deal damage and still leave the fortress under fire, because the thrasher never noticed. Pulling aggro is a task you assign, usually to something tough and on the ground. Air units are a poor way to hold its attention.
Attack waves are the other hand on the clock. They come from the left and from the right, and they climb in tech as the mission runs. Static defense and mines on those paths — spider mines, toxic nests, mag mines — exist so the army can be across the map killing a set when the wave arrives. One commander pushes the next spawn. The other holds the side the wave is using. Trading those roles every set is cleaner than both players chasing the same thrasher while a wave walks into the natural.
The Archangel is the bonus, parked behind the third set, and it reveals itself around the middle of the mission if you never walk over there. It hits in an area. Take it under half health and it switches to fighter mode, flies to another pad, and starts repairing. High burst kills it before the takeoff. Anti-air can shoot it down on the way. It alternates between escape spots until it dies, and the kill is bonus experience rather than a required objective. Do not chase it across the map while a fresh set of thrashers is shelling Hammer.
The mission rewards aggression because the early guards are thin and the fortress only has so much health. Kill the set in front of you before the next timer adds another. On the channel, Raynor and Swann answer it with Terran firepower, and Kerrigan and Stetmann answer it with a Zerg flood — both on Brutal. Browse the StarCraft 2 archive on this site, and if you want another objective built around the Void, read the Scythe of Amon guide next.
Watch gameplay videos — browse the full StarCraft 2 archive on this site.
Browse StarCraft 2 Videos →


