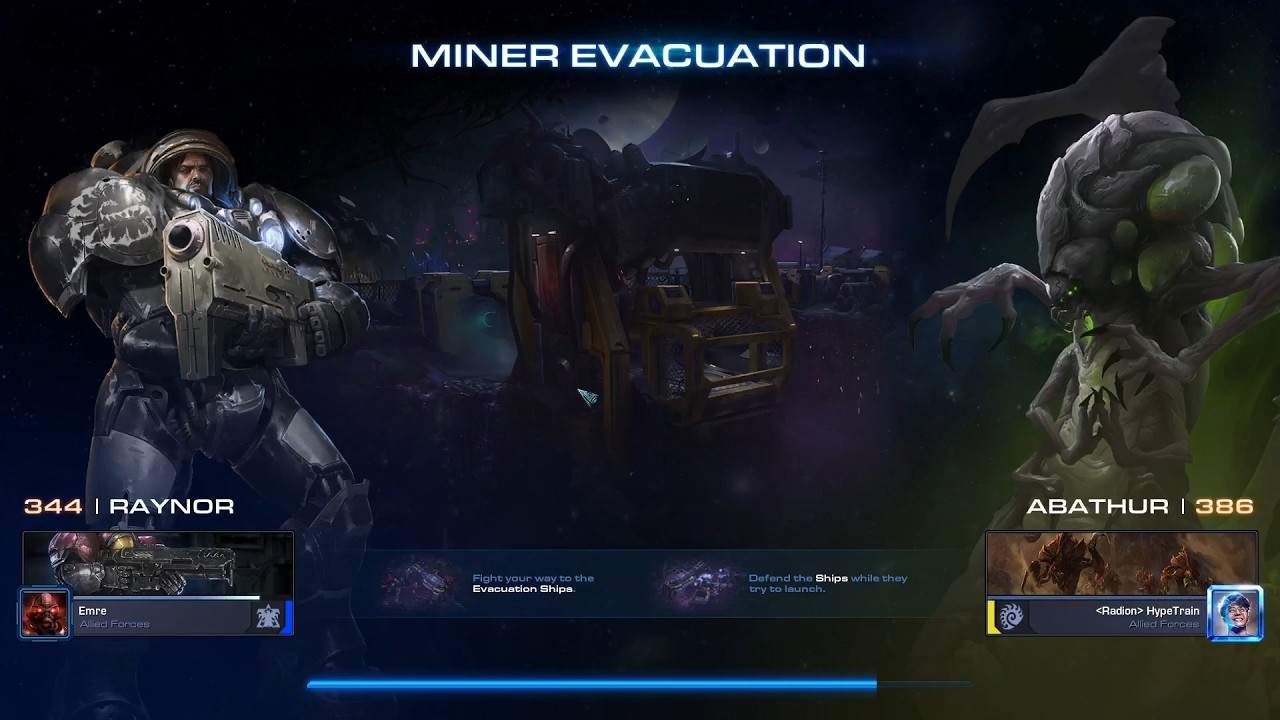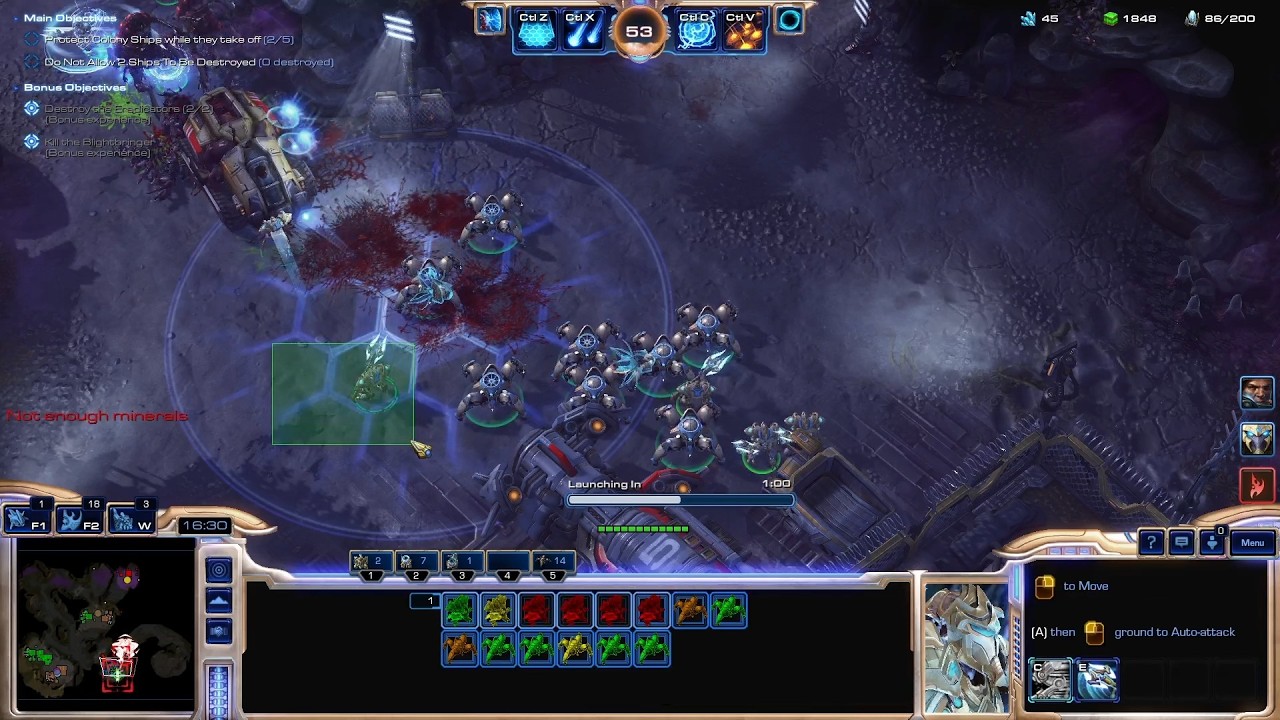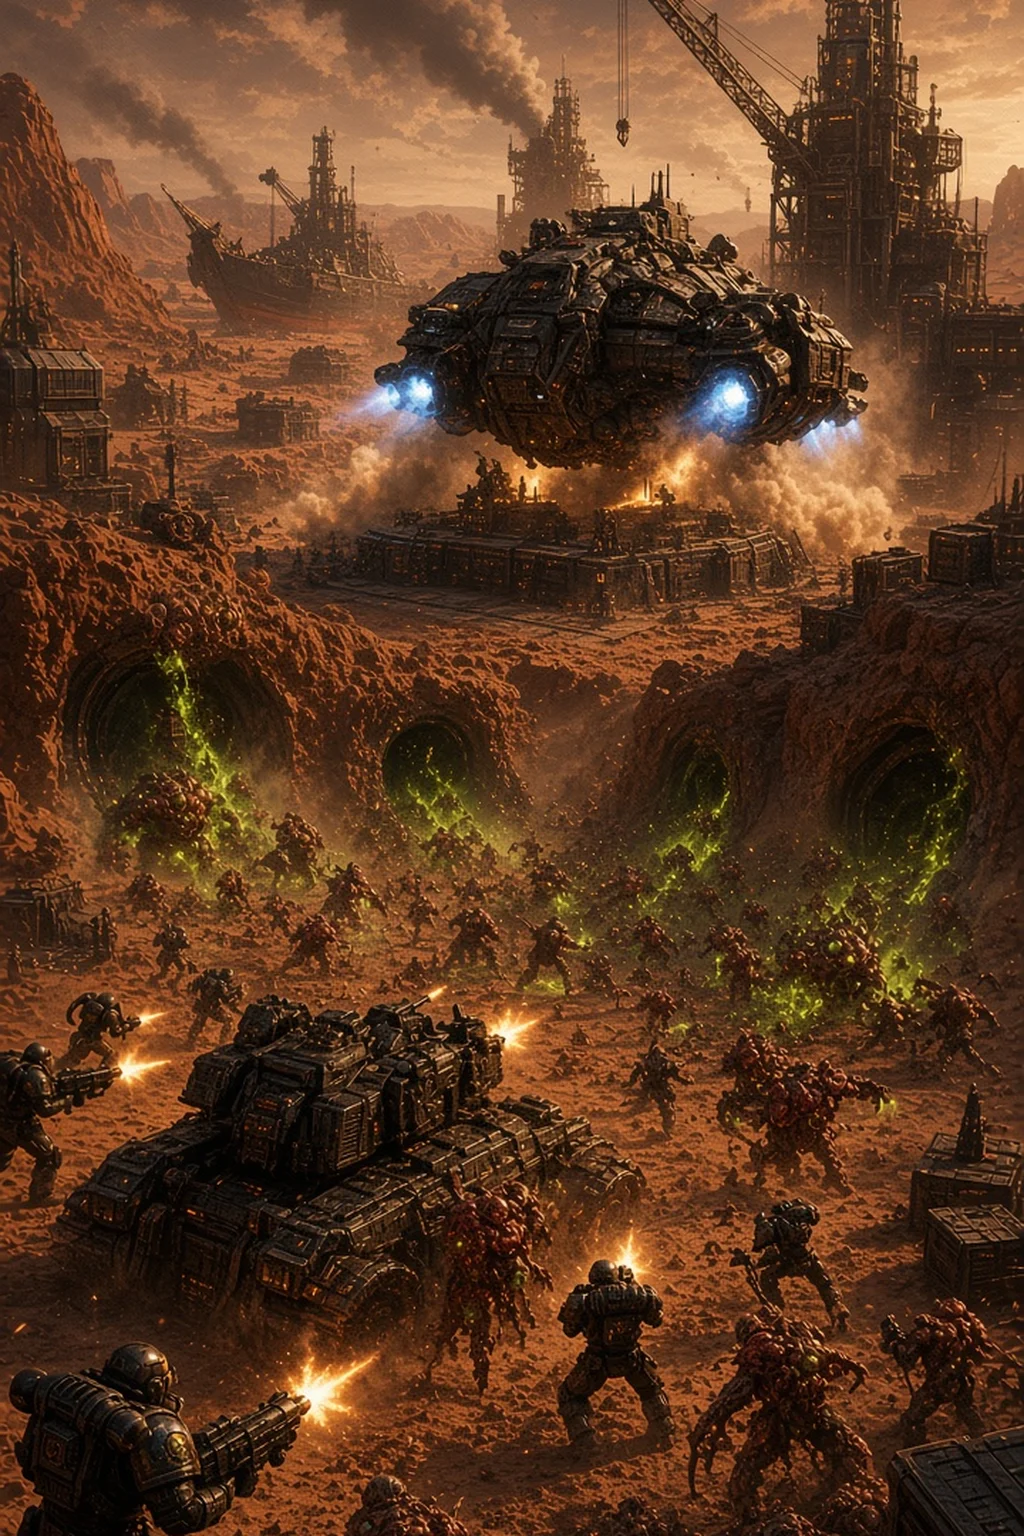
Miner Evacuation is the StarCraft II Co-op mission where the enemy is not a base to destroy but a clock you cannot stop. An infestation is running rampant through one of Kel-Moria's remote mining colonies, and Debra Greene, leader of the local miners' guild, is determined to get her people off-world. Your job is to hold the launch pads while both Amon's forces and the infested try to tear the colony ships apart.
The main objective is simple on paper: protect the colony ships while they take off. Five ships need to get away, and losing two of them ends the mission. Every launch sequence acts like a dinner bell — the moment a ship starts powering up, waves of infested pour in from several directions at once, so a single army parked in one spot is rarely enough.
Split your attention, not just your army. The infested come out of caves and side paths around each pad: infested civilians and marines in huge numbers, volatile infested that explode on contact, and cloaked Infested Banshees that punish anyone without detection. Meanwhile Amon keeps sending regular attack waves at your base, and after the first one they go for your expansion, so leave real defenses there. Keep an eye on the minimap too — small Claimer waves can slip in and kill a ship while your main army is busy elsewhere.
The bonus objective is a coin flip. Miner Evacuation is unusual because it has two different bonus objectives, and one of them appears during the mission. Blightbringer is a massive infested monster that hits air units with Parasitic Bomb and sprays ground armies, so it needs your attention whichever composition you bring. The Eradicators are the scarier roll: one fires missiles marked by circles on the ground and can hit air, the other sweeps a straight-line beam that deletes ground armies. Killing one makes the other attack faster, so blindly attack-moving into the room is the classic way to lose everything. Air units and focused fire on the right target make this fight far easier.
Commander tricks that help. Kerrigan's Omega Worms reinforce distant pads instantly and provide detection against the banshees. Stukov can move his Infested Colonist Compound toward the expansion once creep is spread to shorten the walk. Zeratul's Void Arrays make reinforcing multiple pads easier, and Vorazun's Time Stop freezes the map — including the launch countdown — so use it to save a ship, not to speed one up. Durable, fast-reinforcing armies are generally happier here than slow, single-blob compositions.
The channel has three Brutal clears of this mission. Raynor and Abathur hold the pads with Terran bio, siege units and Abathur's evolving biomass army. Artanis and Tychus pair durable Protoss reinforcements with Tychus's squad of outlaw heroes. Vorazun and Tychus mix cloaked Dark Templar strikes and battlefield control with the outlaws' heavy firepower. Three very different answers to the same question: can you keep every launch pad alive at the same time?
Watch the runs below, browse the StarCraft 2 archive on this site, and read the Dead of Night guide next for another co-op map built around surviving the infested.
Watch gameplay videos — browse the full StarCraft 2 archive on this site.
Browse StarCraft 2 Videos →